ActiveCampaign is a “customer experience automation” service that features email marketing, marketing automation, sales automation, and customer relationship management. The service offers a free and paid tier to the users then later offers/unlocks more features that can be used by its users. Here are the FREE feature and functionalities offered:
Newsletters
Email Marketing
Marketing Automation
Website Tracking
Unlimited sending of emails
For this documentation, we will focus mainly on email marketing, marketing automation, and how the service can be integrated into a WordPress site. We will use the free-tier plan to check on what’s included right out of the box.
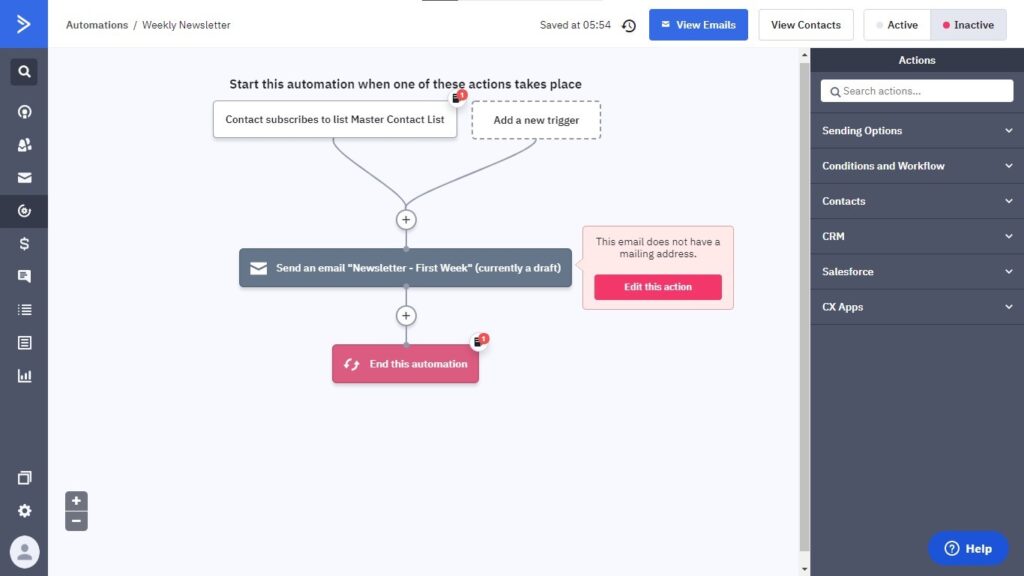
Automation Workflows in ActiveCampaign
Figure 1 – Newsletter Automation Workflow in ActiveCampaign
ActiveCampaign’s Automation workflow is very similar to SendInBlue’s automation workflow with a flowchart style where at the top is the starting point of the workflow going down until the workflow ends. The sample workflow above is a newsletter being sent to the user once they have been in a contact list. The great thing about ActiveCampaign is that it supports the sending of email series in free users. Meaning, we can send multiple emails to the subscribers of that list even if we’re only using the free-plan.
Built-In Triggers
Behaviors and Actions
Opens/reads an email
Clicks a link in an email
Web page is visited
Event is recorded
Shares an email
Forwards an email
Replies to an email
Tag is added
Tag is removed
Field changes
Dismisses a site message
Makes a purchase
Abandons cart
Score changes
E-Commerce
Web page is visited
Goal is achieved
Conversion occurs
Makes a purchase
Abandons cart
Score changes
Deal state changes
Deal status changes
Email & Messages
Subscribes to a list
Unscribes from a list
Open/reads an email
Clicks a link in an email
Web page is visited
Shares an email
Forwards an email
Replies to an email
Dismisses a site message
Sales & CRM
Event is recorded
Tag is added
Tag is removed
Field changes
Goal is achieved
Date based
Conversion occurs
Makes a purchase
Abandons cart
Score changes
Enters a pipeline
Deal state changes
Deal status changes
Web Properties
Submits a form
Clicks a link in an email
Web page is visited
RSS based
Dismisses a site message
Conversion occurs
Makes a purchase
Abandons cart
Implementing ActiveCampaign in WordPress
ActiveCampaign offers an official plugin for WordPress. The official plugin offers ActiveCampaign forms and even site tracking. Below is the procedure for installing ActiveCampaign.
Things to take note:
This documentation will be focusing on ActiveCampaign and WordPress. For this implementation, we will be installing the official plugin offered by ActiveCampaign
Procedure:
Install the ActiveCampaign Plugin for WordPress
Connect your ActiveCampaign account in WordPress using your API URL and API key. API URL and API key can be found in ActiveCampaign’s Settings > Developer Section
If you want to enable ActiveCampaign’s site tracker, follow the procedure below. This documentation will also tackle the tracker in the next chapter.
In ActiveCampaign’s settings, select Tracking. Make sure you turned on Site Tracking and Event Tracking.
Go back to WordPress and visit the plugin settings for ActiveCampaign. Make sure that the “Install ActiveCampaign Code” is turned on.
Press on Update Settings
From there, we can create our first ActiveCampaign form and have it embedded in the WordPress site.
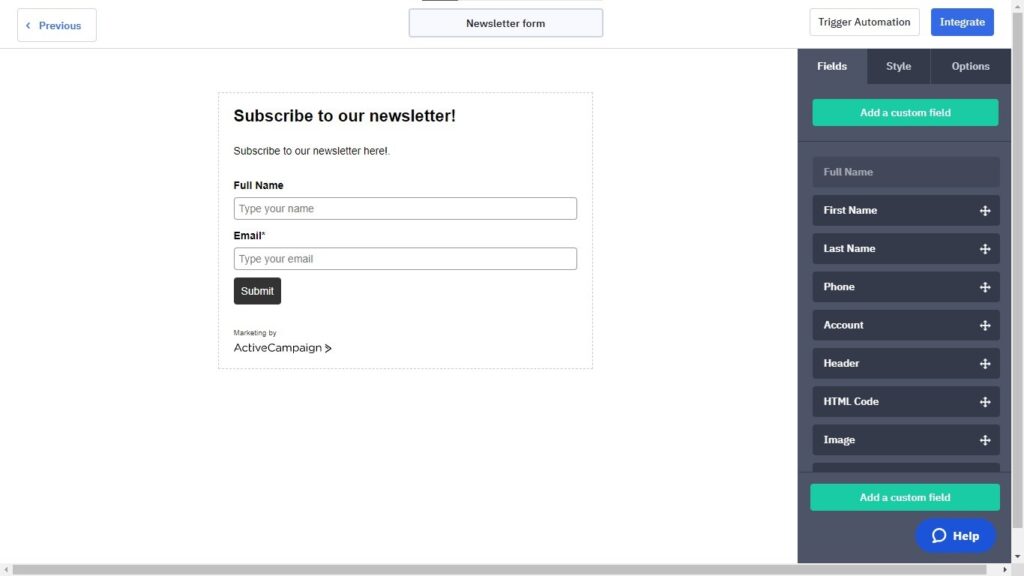
Make sure you’ve already created a contact list before creating a form! It will be used for storing the person’s details. To create a form, simply visit the forms page on the ActiveCampaign’s page. Create a form there and make sure that form adds the user to a contact list.
Sample newsletter form
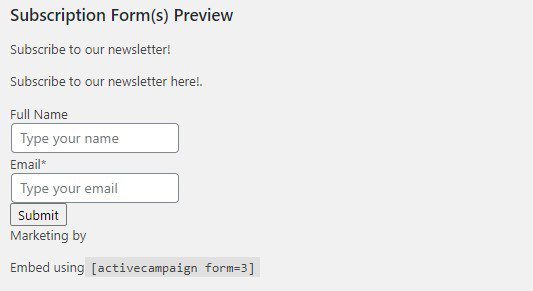
Above is a sample form we’ve created. Once you’re done customizing your form, go back to WordPress and open the settings page for ActiveCampaign. There should be a preview of the form we’ve created as well as the short code for implementing the form on the website.
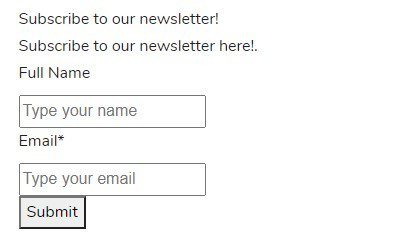
To embed the form, simply copy the provided short code and paste it at the desired page. We’ve used Elementor to embed the form in a page.
We have now implemented the form! All we have to do now is to set up the automation workflow. The workflow should send an email to the user about the form they’ve signed up!
To create an automation workflow, press on the Automations page, then press the Create an Automation button.
Workflow for the newsletter form
Based on the figure above, two triggers have been added for starting the form. The reason why there are two triggers is to make sure that the user will receive the email when: they’ve signed up in the form and/or been added in the newsletter list.
Make sure you’ve marked the workflow as active in order for it to work! Once done, we can simply test out the form.
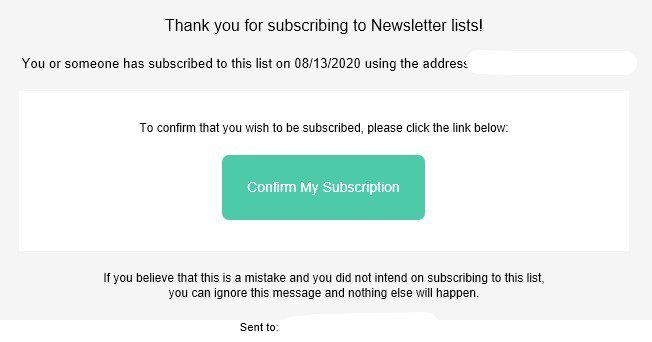
Message after using the form we’ve created
Once the user used the form, they should receive an email confirming the subscription. Below is a sample image of the subscription confirmation.
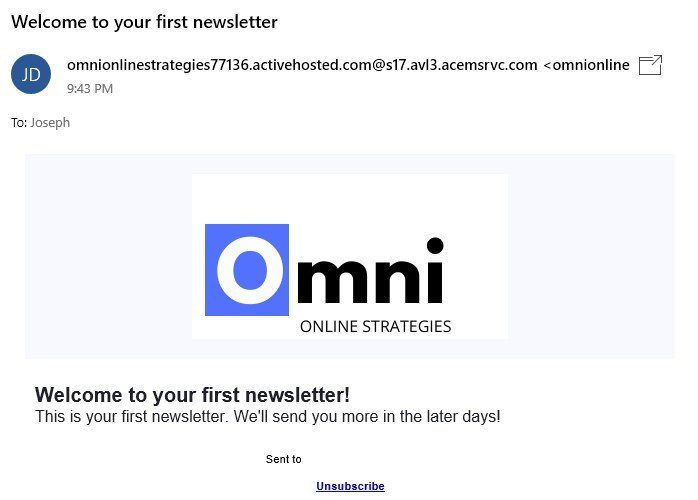
After pressing the “Confirm My Subscription” button, the automation we’ve created should start. The user should receive the email below.
And that’s it! We have triggered a workflow using the form we’ve embedded in a WordPress site! There are more ways to trigger a workflow like clicking an email, user attributes like birthdays, etc. This chapter mainly the basics for triggering a workflow. The next chapter talks about custom events/site tracking for triggering an automated workflow.
ActiveCampaign Event and Site Tracker
ActiveCampaign offers two trackers where you can trigger your own custom events if the scenario you want is not listed in the pre-made triggers. ActiveCampaign Tracker can be installed without any use of endpoints/POST calls. Instead, we can install the tracker with the use of a JavaScript code generated for us. The JavaScript code is only meant for the Site Tracker. Implementing the Event Tracker requires:
Site Tracker
Covers/tracks pages visited by users. Uses a JavaScript code for tracking the activities made by users.
Event Tracker
Tracks events in webpages like button click made by users. Uses a PHP code for tracking the activities made by users.
The event tracker on the other hand uses PHP for generating its events. Below is a sample code for generating the event
The highlighted words are parameters. Therefore, you’ll have to change the value in each parameter for the PHP code to work.
Act ID – This can be found at the Developers page in ActiveCampaign.
API Key – Can be found at the Developers page as well.
Event – The name of the event. The name of the event will be used for triggering an automation workflow.
Event Data – Data that will be passed through in the event.
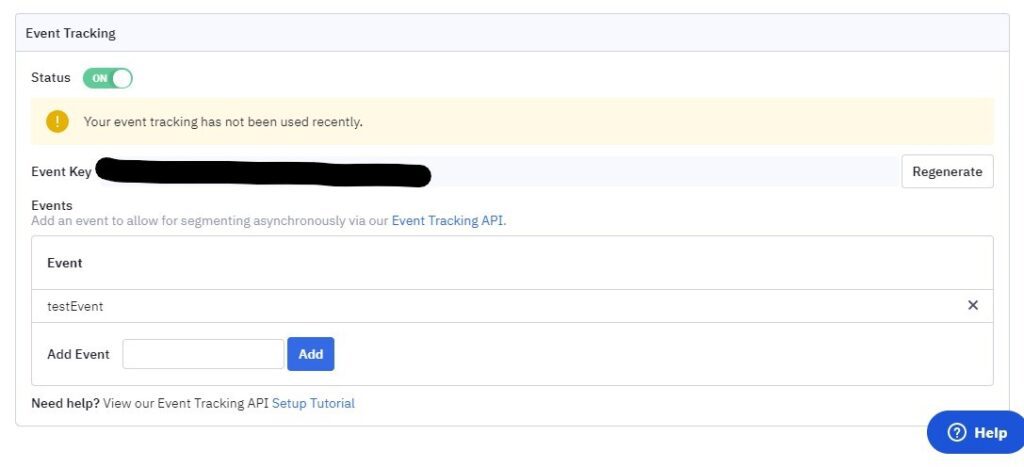
To use the event in the automation workflow, make sure you’ve added the name in the whitelist first. This can be done at Tracking Settings page of ActiveCampaign.
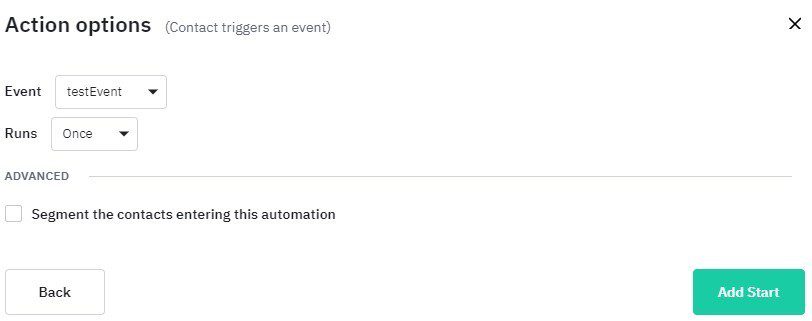
Once you have added the event name in the whitelist, we can now trigger a workflow by the event API.
Select the name of the event you’ve added in the whitelist and you’re done! You’ve made a workflow using the Event Tracker. The event can be triggered by the PHP code provided above. The code can be placed on the website with a PHP file. The code is guaranteed to work as long as you’re main site is in PHP format.
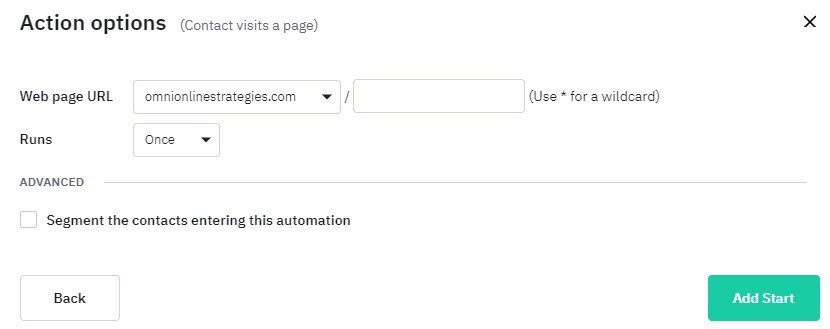
For the Site Tracker, since it focuses mainly on tracking the pages visited by the user, we can select “Web page is visited” as the trigger.
From here, we can select what page of the website will be used for triggering the workflow.
Conclusion
After the documentation, we have learned the following:
Features available for the free-tier plan of ActiveCampaign.
How ActiveCampaign’s automated workflow works.
Implementation of ActiveCampaign’s forms into WordPress with the use of an official plugin offered by the ActiveCampaign.
ActiveCampaign’s Tracker and its Event API
ActiveCampaign offers a lot of features for its free-tier plan. While its UX/UI for its dashboard is a bit overwhelming because of the number of functionalities shown. Also, the separation of event tracking and site tracking (with different languages: PHP is used for event tracking, JavaScript is used for site tracking) makes its implementation for your websites a bit more complicated. ActiveCampaign is a good marketing service if you are willing to learn how its features and functionalities work.
We use cookies on our website to give you the most relevant experience by remembering your preferences and repeat visits. By clicking “Accept”, you consent to the use of ALL the cookies.
This website uses cookies to improve your experience while you navigate through the website. Out of these, the cookies that are categorized as necessary are stored on your browser as they are essential for the working of basic functionalities of the website. We also use third-party cookies that help us analyze and understand how you use this website. These cookies will be stored in your browser only with your consent. You also have the option to opt-out of these cookies. But opting out of some of these cookies may affect your browsing experience.
Necessary cookies are absolutely essential for the website to function properly. These cookies ensure basic functionalities and security features of the website, anonymously.
Cookie
Duration
Description
cookielawinfo-checkbox-analytics
11 months
This cookie is set by GDPR Cookie Consent plugin. The cookie is used to store the user consent for the cookies in the category "Analytics".
cookielawinfo-checkbox-functional
11 months
The cookie is set by GDPR cookie consent to record the user consent for the cookies in the category "Functional".
cookielawinfo-checkbox-necessary
11 months
This cookie is set by GDPR Cookie Consent plugin. The cookies is used to store the user consent for the cookies in the category "Necessary".
cookielawinfo-checkbox-others
11 months
This cookie is set by GDPR Cookie Consent plugin. The cookie is used to store the user consent for the cookies in the category "Other.
cookielawinfo-checkbox-performance
11 months
This cookie is set by GDPR Cookie Consent plugin. The cookie is used to store the user consent for the cookies in the category "Performance".
viewed_cookie_policy
11 months
The cookie is set by the GDPR Cookie Consent plugin and is used to store whether or not user has consented to the use of cookies. It does not store any personal data.
Functional cookies help to perform certain functionalities like sharing the content of the website on social media platforms, collect feedbacks, and other third-party features.
Performance cookies are used to understand and analyze the key performance indexes of the website which helps in delivering a better user experience for the visitors.
Analytical cookies are used to understand how visitors interact with the website. These cookies help provide information on metrics the number of visitors, bounce rate, traffic source, etc.
Advertisement cookies are used to provide visitors with relevant ads and marketing campaigns. These cookies track visitors across websites and collect information to provide customized ads.